This summer is all about the Bucket List. It’s not that I am so in love with the concept of a bucket list, but I completely head over heels with the idea that you need to dream big and do big. Summer is a perfect time to be intentional about making a list that will lead to making memories. The thing about bucket lists, and all lists, really, is that you have to write it down and keep it in a place where you it will keep you motivated.
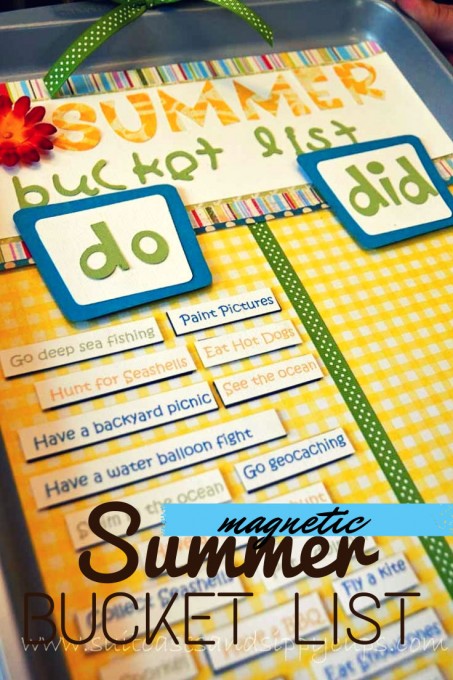
To kick off summer, I encouraged the kids to create their own bucket list. To keep them inspired all summer long, I created a fun ways to record their lists and help them keep track of their summer accomplishments.
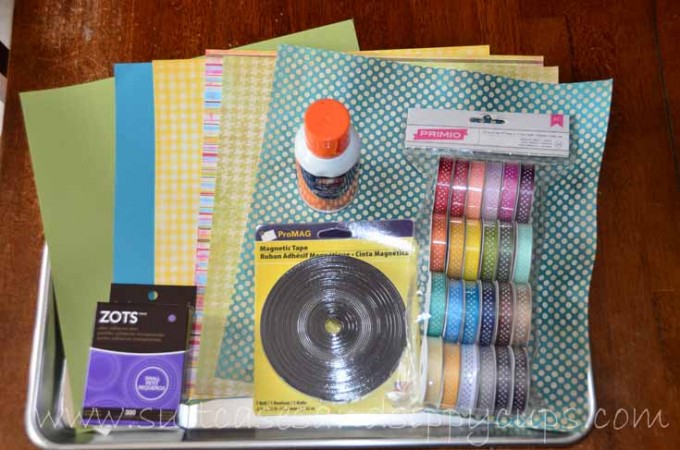
~Materials Needed~
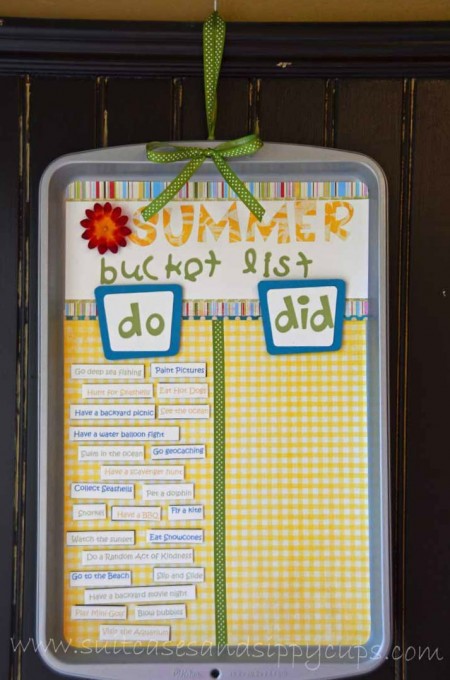
Magnetic Summer Bucket List
Materials: magnetic cookie sheet, scrapbook paper, square foam mounts, spray adhesive, ribbon, ½ inch magnetic tape, cardstock, letter stickers or die cut machine, tagboard labels or die cuts
Time Needed: 1 ½ to 2 hours
Important Notes: Before you begin check to see that your cookie sheet is not aluminum, and therefore not magnetic. Don’t ask me how I know this. Seriously, don’t ask!
Step One: Drill holes in the top of your cookie sheet to attach a hanging ribbon at the completion of the project. In my project, I already had a single hole in my cookie sheet, so I asked my Boy Scout how to make a knot that wouldwork with one hole and skipped the drilling process.
Step Two: Arrange scrapbook paper to make an attractive background. Two to three patterned papers, plus two coordinating solid papers work best with this project.
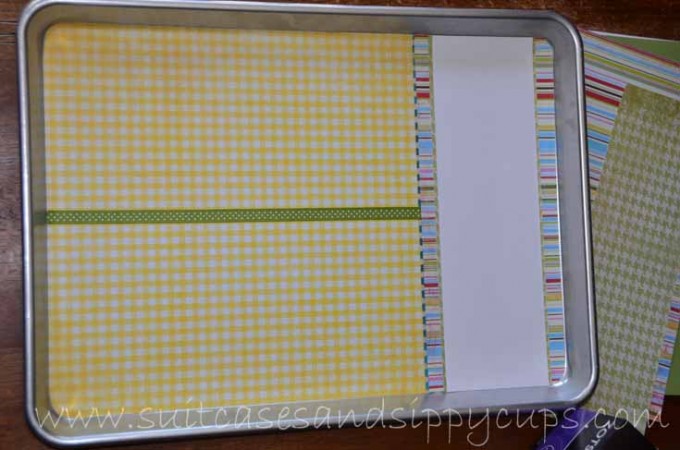
Step Three: Cut your papers to fit your cookie sheet. Spray adhesive on the cookie sheet and press the papers firmly to the metal.
~Papers in place and ready for lettering~
Step Four: Attach a ribbon or a thin strip of paper down the center of the sheet to divide the “do” section from the “did” section.
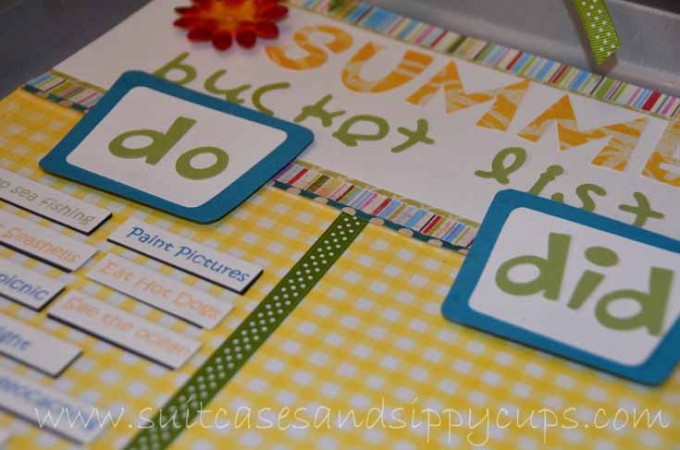
Step Five: Adhere letter stickers or foam letters to create a title at the top. I used my trusty Cricut from my scrapbooking days to create a title from patterned paper and cardstock.
Step Six: Create two tags from a die cut machine or use two tagboard labels to mark the columns. Place one tag at the top of each column. Add the word “do” to one tag and “did” to the second tag.
Step Seven: Create your bucket list on a word processing program or feel free to customize our document and make it your own. This document is sized to fit ½ inch magnetic tape. Print your bucket list and cut each item into ½ inch width strips.
Step Eight: Attach each bucket list paper strip to a length of magnetic tape.
Step Nine: Place your magnetic strips in the “do” column and get busy moving those babies to the “did” column.
Bonus: I attached a library pocket to the back of our magnetic board so that I could store extra ideas and replenish our board all summer long.
More Resources for Bucket List Crafts and Inspiration
See the complete tutorial for creating a kid-friendly bucket list craft in 30 minutes or less
Print your own bucket list of 101 ideas to inspire you to dream big and do big this summer.
Inspire your children to create their own bucket list with Panama City Beach Bucket List Challenge
I bet you could turn this into a product. Pretty magnetic boards, dry-erase magnets and markers. Let people write their own ideas, and the instruction sheet might have suggestions.
Josh Davis recently posted…2014-04-24 “Easy Spin”
Er, sorry it added a link to one of my blog posts. So weird. No option to remove it either.
Love this idea so, so much!!!
Arena recently posted…Throwing Back on #TBT with Netflix