I was warned, but I wasn’t a true believer until I saw the destruction for myself.
There really is nothing that can prepare you for the eating habits of the wild pre-teen boy. It is epic and shocking. Mostly the shock is to my wallet. It is like a scene from any slightly grizzly nature show to watch what happens in my pantry just after I return from the grocery store. They are like locusts of Biblical proportions, and the swath of consumption that they leave as they raze their way through the food is vast. It’s not just the volume; it’s also the speed with which they consume. A bottomless pit doesn’t even begin to cover it.
Of course, the need to feed grows exponentially when we are camping, hiking or doing something active. Clif Bars or other filling granola snacks are a go-to snack for backpackers, but at a $1 per bar, I would have watch my entire vacation budget consumed bite by bite before we reached the end of the trail. To stop the hemorrhaging and still keep the bellies full, I had to start making my own granola, fill-er-up kind of snacks for backpacking, camping, and roadtrips.
Before I continue, you need to know this about me: I hate making things from scratch. I would have died in the Little House on the Prairie era. If there is a pre-packaged version of something, it might as well have my name on it. So, when I made these for the first time, I actually dreaded it. However, these are super-duper easy, and so much better than pre-packaged both in quality of ingredients and taste. Plus, they are completely customizable and I can make them in batches big enough to feed the army-or the three kids who are eating like it is an Olympic Sport.
Basic Backpack Energy Bite Recipe
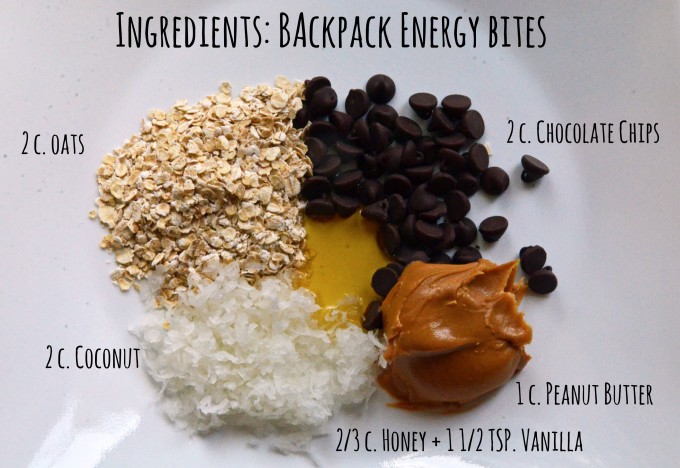
2 cup of oatmeal
2/3 cup honey
1 cup peanut butter
2 cup of mini chocolate chips
2 cups coconut (sweetened or unsweetened)
1 1/2 teaspoons vanilla
Optional Add-Ins:
1/4 cup wheat germ
1/4 cup flaxseed
Craisins, raisins, or other fruit chunks
Cocoa powder
Protein powder
Sunflower seeds
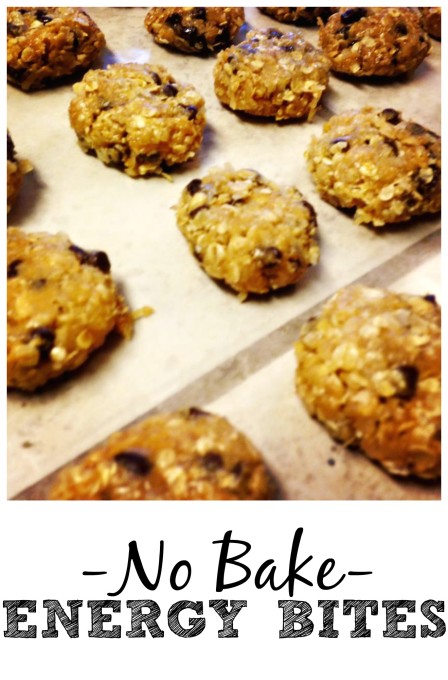
Combine all the ingredients and mix thoroughly. Once you’ve mixed, put in the refrigerator to chill for about an hour and then form into the shape of your choice. Balls are the easiest, but I like to form disks just because that seems more pleasurable to eat somehow. You can also spread them in a cookie sheet and chill again before cutting into bars. I store the finished product in a large Tupperware container with wax paper between the layers.
The great thing about these bars is that they you can take the basic recipe and make it your own. If you want a healthier version with lower sugar, use natural peanut butter, unsweetened coconut, and dark chocolate chips. If you have nut allergies, you can substitute the peanut butter for almond or cashew butter. For variety, you can add any other kinds of fruits, nuts, candy chips, or powders that suit your fancy.
When it’s all mixed and prepared this recipe works great for just about any travel moment or meal. I like to make a big batch before any road trip or camping trip, and because the ingredients are non-perishable, I can even mix up a batch while traveling. We use them for breakfast, snacks, energy boosts while hiking and just about everything in between. They are definitely filling-at least for five minutes.


This is an amazing snack. Thanks!