The thing I hate most about Pinterest (other than the witchcraft way that it takes ten casual minutes of browsing and erases two hours) is that so many of the projects are so haaaaard. The pictures draw you in, but the reality is unreachable. Look! It’s so cute! It’s so pretty! It takes 15 specialized supplies and 133 detailed steps. Ain’t nobody got time for that.
I like to craft and I don’t mind pulling out the supplies and trying something new, but I really, really like it when I can look at a project and see what I need to do to accomplish it just from the picture. That is why I endorse this project: four supplies, four steps, and you don’t need a detailed description of anything to get it done.
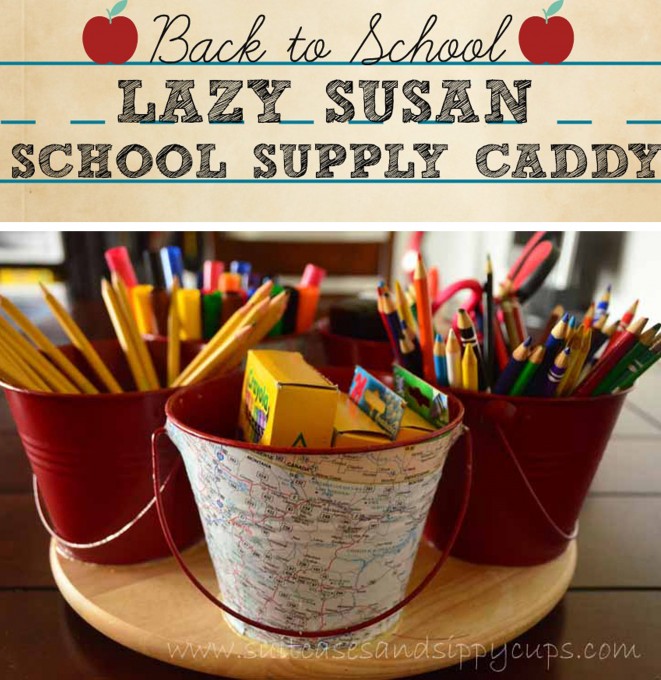
Making a Lazy Susan School Supply Caddy
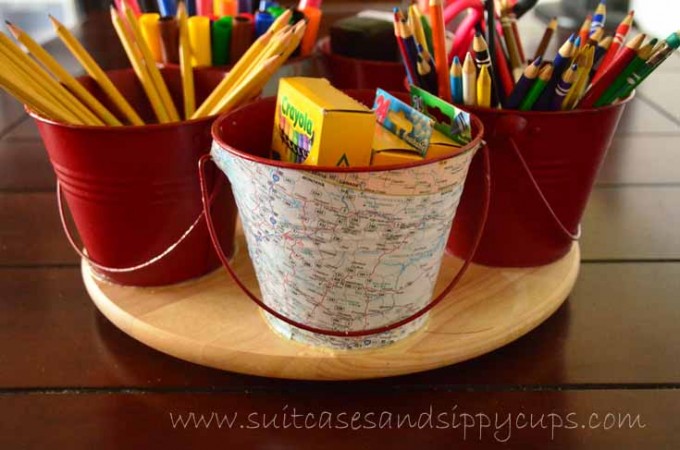
This sweet little caddy has been a staple in my schoolroom for quite a while. After four kids and five years of collective use and general goo, it definitely needed a facelift. Plus, I have become obsessed with maps, or rather using all the spare maps I have sitting around the house to make crafts, so it was a two for one craft project.
Simple Supply List
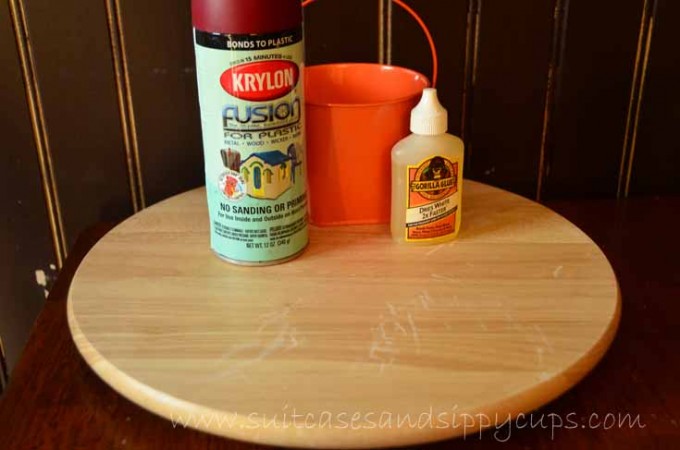
· Lazy Susan: Does not have to be new. Mine came from Goodwill. Score for a $1
· Some Kind of Buckets or Containers: Mine came from the Dollar Aisle at Target
· Spray Paint: The buckets and/or the Lazy Susan can be painted to your customization
· Gorilla Glue
Simple Instruction List
These are so simple that it feels like I don’t even need to write it out, but I am not Ikea and there is no need to be stingy with written directions.
Step One: Spray Paint buckets and/or Lazy Susan and allow to dry.
Step Two: Apply a thin line of Gorilla Glue to the bottom of each bucket and stick in place.
Step Three: Add school supplies
Step Four: Enjoy.
See! So simple, I had to make up the last two steps just to flesh out the four step project. Of course, to incorporate my upcycled maps, I had to go advanced.
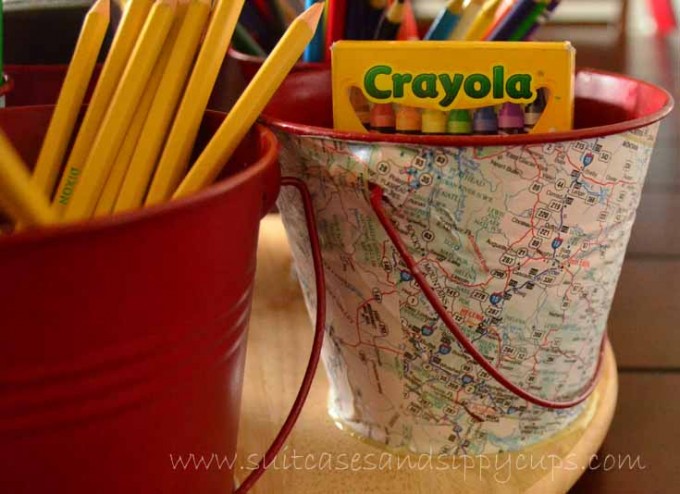
How to Decoupage a Map to a Galvanized Bucket
Decoupage is one of my favorite ways to craft simply because if you make a mistake, you just slop more Mod Podge onto the mistake and smear it around ‘til it looks good.
Step One: Create a pattern by rolling the bucket across a piece of craft paper to trace the top and bottom. The result will be a slightly curved rectangle. I used this site for a tutorial to give me an idea of how to make the pattern.
Step Two: Cut two of the pattern from the leftover map. Cut your map slightly larger than your template, so you have room to wrap.
Step Three: Cover half of the bucket with Mod Podge and quickly apply one piece of the map. Brush more Mod Podge on the edges of the map and all over the surface of the map. Smear and smooth like crazy until the surface is wrinkle and bubble free (more or less).
Step Four: Allow to dry before cutting away any excess map.
And, done! Simple, easy, and is there anything more beautiful than a bouquet of pencils at the beginning of the school year?


This is such a great way to use the super cheap maps we find from Goodwill! Great idea to inspire the travel bug for my little one!
Weekends Count recently posted…#AdventureCon14 – One Month Later…
That looks really cool and helpful. I don’t have kids but I could use one of those.
Suki F recently posted…Taking in the sights in Salzburg